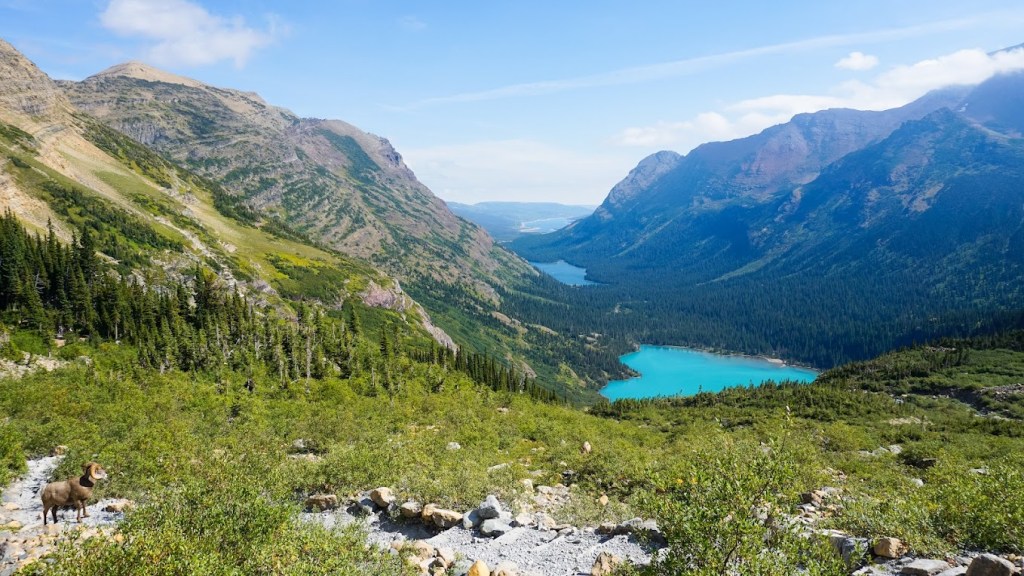
Welcome back to part two of our massive, 14-person guide to Glacier National Park! In [Part 1], we covered the brutal logistics of planning for a huge group, our gorgeous home base in Whitefish, and the best highlights of West Glacier.
Now, we are packing our bear spray and heading over to the wilder, more rugged side of the park: Two Medicine, the Many Glacier District, and the legendary Highline Trail.
Day 3: What We Planned
This trip took place in the end of August into, beginning of September. The weather was really warm in Montana, and after our Day 2 of Hidden Lake, a lot of us were exhausted. Now, to be honest, when I planned this trip, I did not plan any rest days.. which was… very ambitious on my part! So, I am being totally transparent when I say I will tell you what I planned to do and what I actually did.
🌅 The Plan – The Two Medicine Sunrise
Two Medicine Lake is one of the absolute best spots in the park to watch the sunrise. Depending on when you visit, first light hits between 5:30 AM and 7:00 AM. We arrived about 30 minutes early to find a spot on the peaceful shoreline right by the historic Two Medicine General Store.
The Afternoon Plan:
- Boat & Hike: You can rent a boat or catch a boat shuttle across the lake to shorten the trail to Twin Falls Hike.
- The Return Journey: On our way back to Whitefish, we planned to drive straight through the park along Going-to-the-Sun Road. If you have time and parking luck, pull off at the Sun Point Nature Trail or make the trek up to Virginia Falls!
What Really Happened: We changed around our Day 4 Plan and split it into 2 days. Our original Day 4 plan was very ambitious and included horseback riding AND a 10 mile hike. So, we moved part of Day 4 into Day 3 to give us all of Day 4 for our big hike!
Day 3: What we actually did – Many Glacier & Horseback Riding
Day 3 took us to the Many Glacier District.
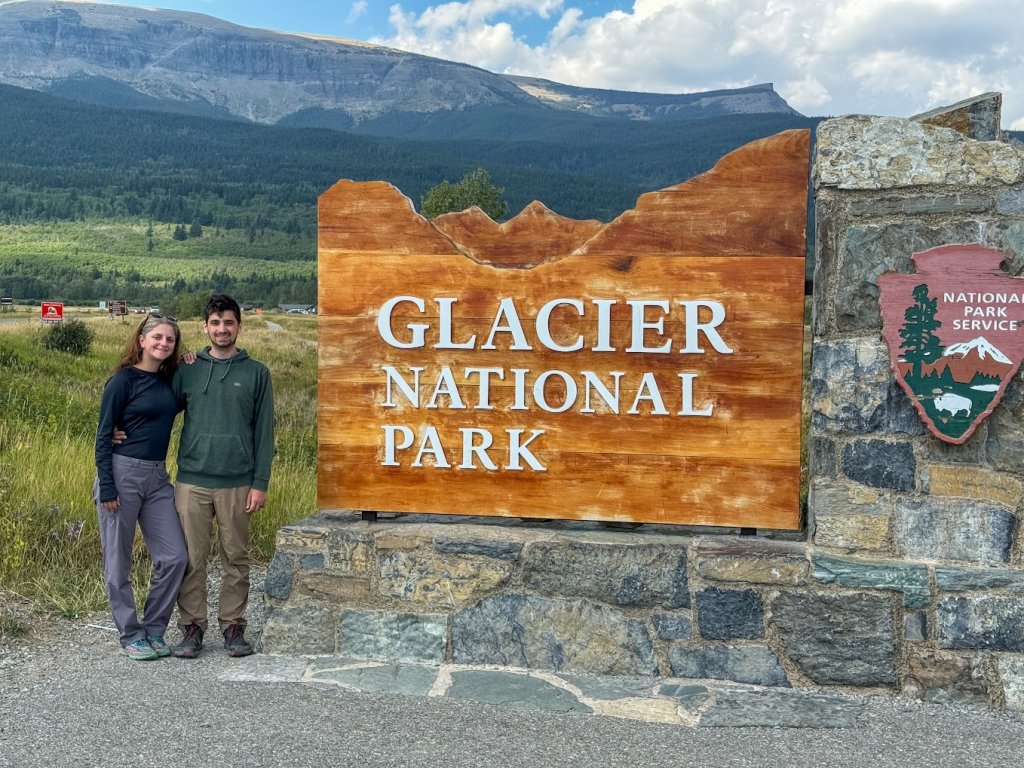
Pro Tip: Don’t forget to grab a picture at the Glacier sign! This one is much less crowded than the others on the other side of the park.
🐴 Morning Trail Ride at Cracker Flats
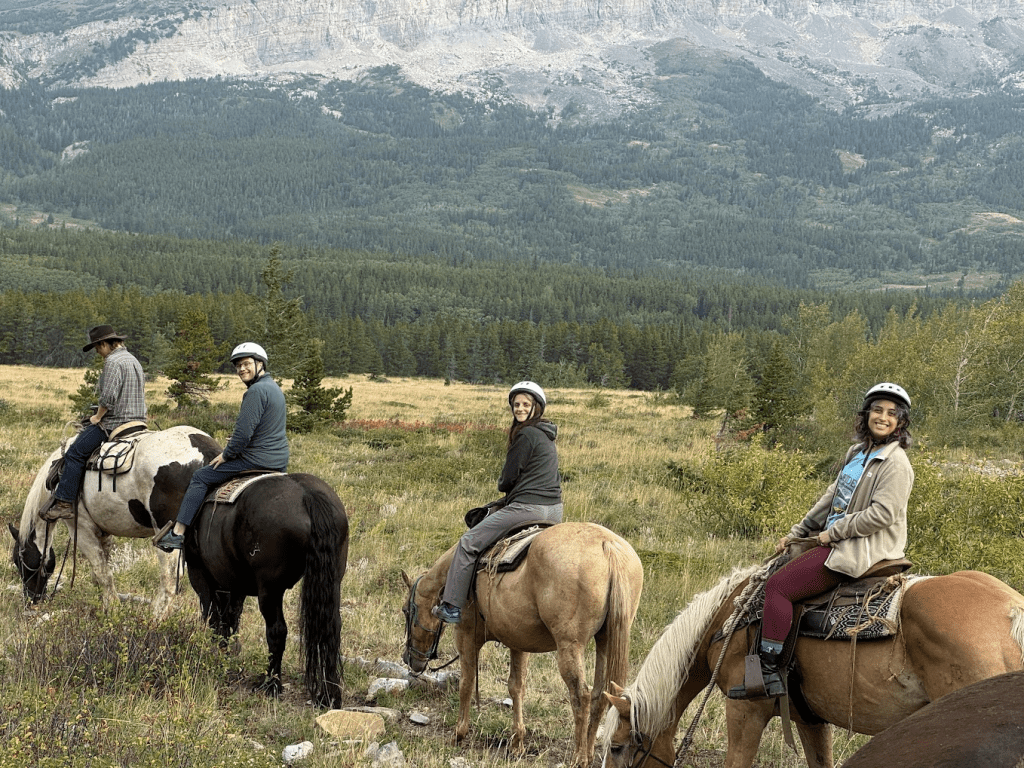
We kicked off our morning at 7:45 AM with a group horseback riding tour booked through Swan Mountain Outfitters at their Cracker Flats location. We met up at the Many Glacier Hotel which was so cool to see! Highly recommend checking it out if you have time. Then, we headed over to the side of the lot where the horses were waiting for us.
Our two-hour ride took us along the scenic shores of the Sherburne Reservoir and out onto the open flats where an old mining town stood at the turn of the century. Because “The Flats” are wide and clear, you get unbelievable 360-degree views of the massive peaks surrounding the Many Glacier Valley. The trail was beautifully mild, the horses were great, and we saw tons of wildflowers! We did not see any bears on this trail, though apparently the horses are very used to it!
Short Afternoon Hikes in Glacier
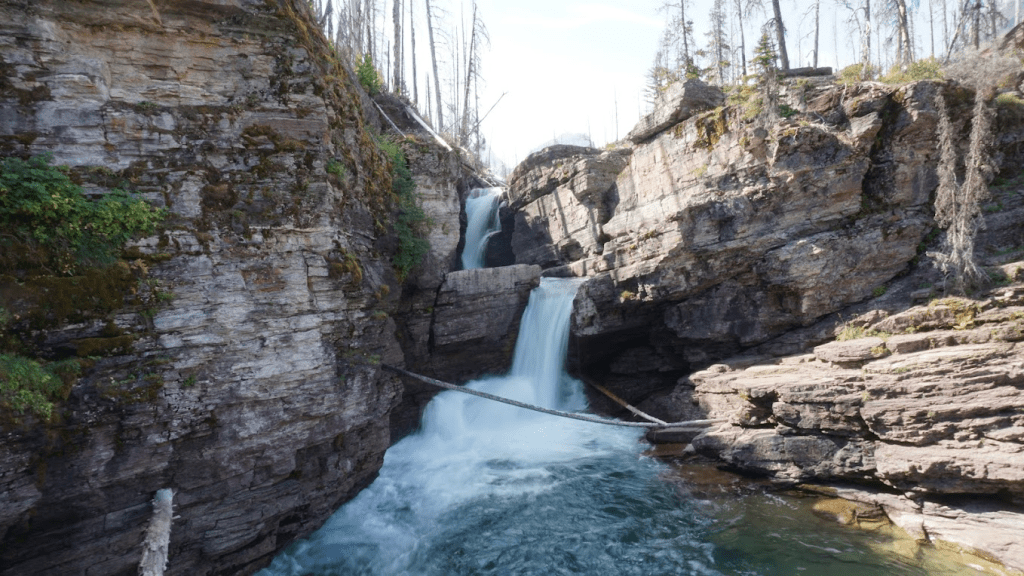
We drove around to get back to Going to the Sun Road and headed towards the Saint Mary’s Falls trail. This is a shorter hike that is absolutely beautiful! If I haven’t said it already, pretty much all the water you encounter is freezing cold (uh, glacial to be exact) but fair game for swimming. Many of my friends jumped right in!
Driving on through Going to the Sun Road
Since we had a pass for each day, we took advantage and kept driving through to stop at scenic points. When we stopped at Oberlin Bend we got an absolutely beautiful view of the mountains, and luckily, got to see some mountain goats too! As a reminder, please don’t approach the wildlife. Keep them wild!
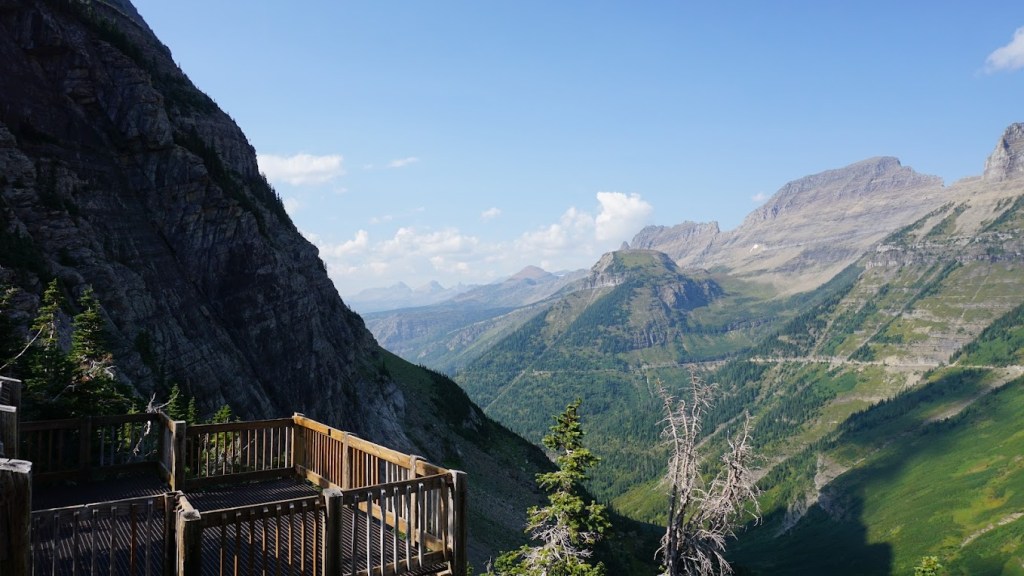
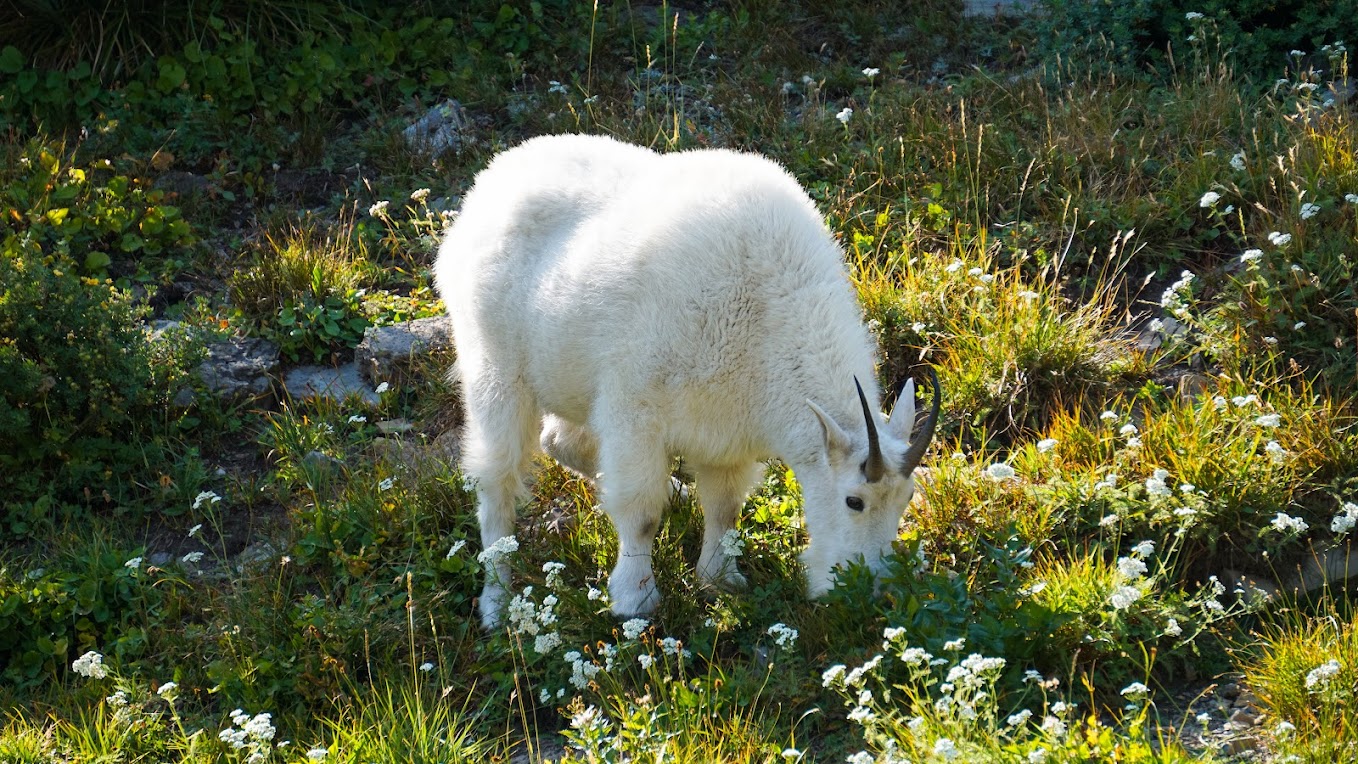
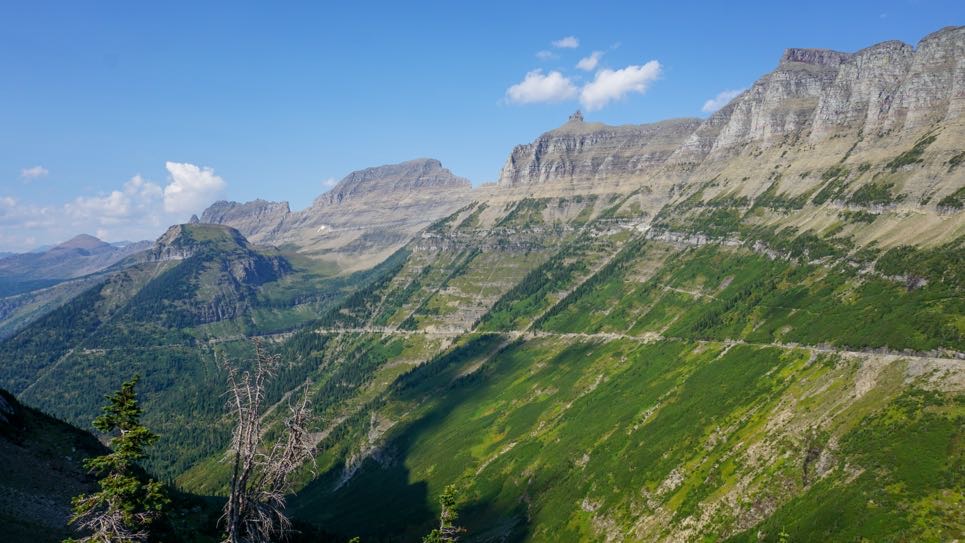
We headed home for the day to get ready for our long hike and load up on some carbs!
Day 4: Many Glacier
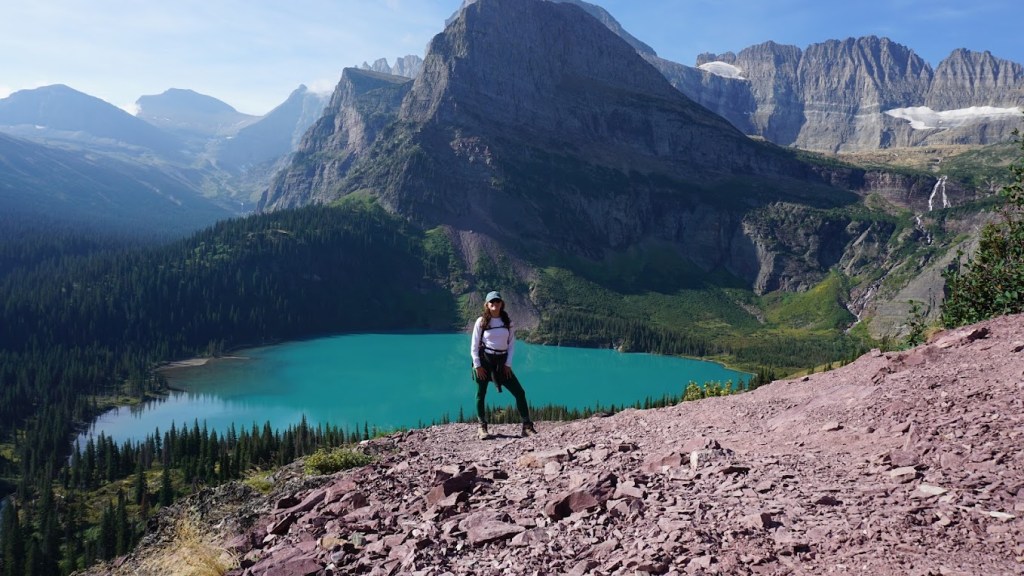
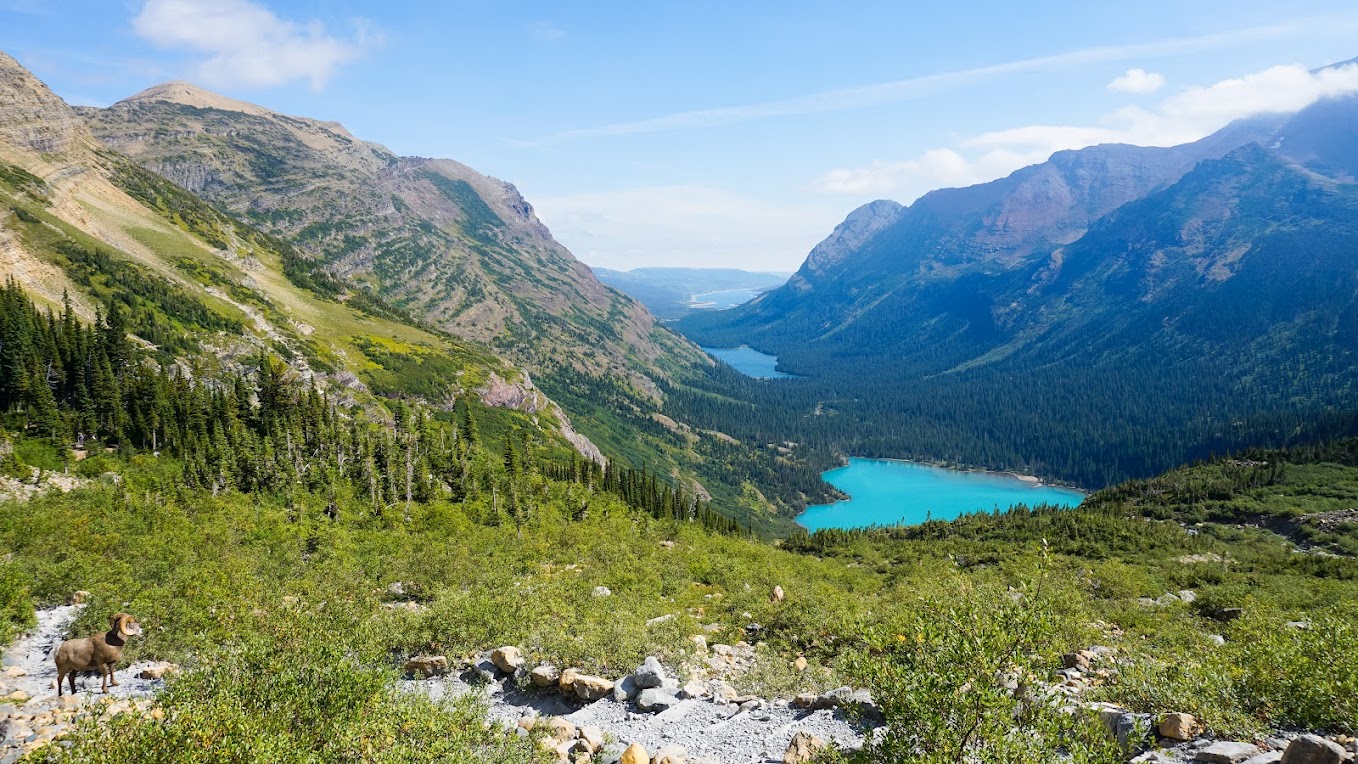
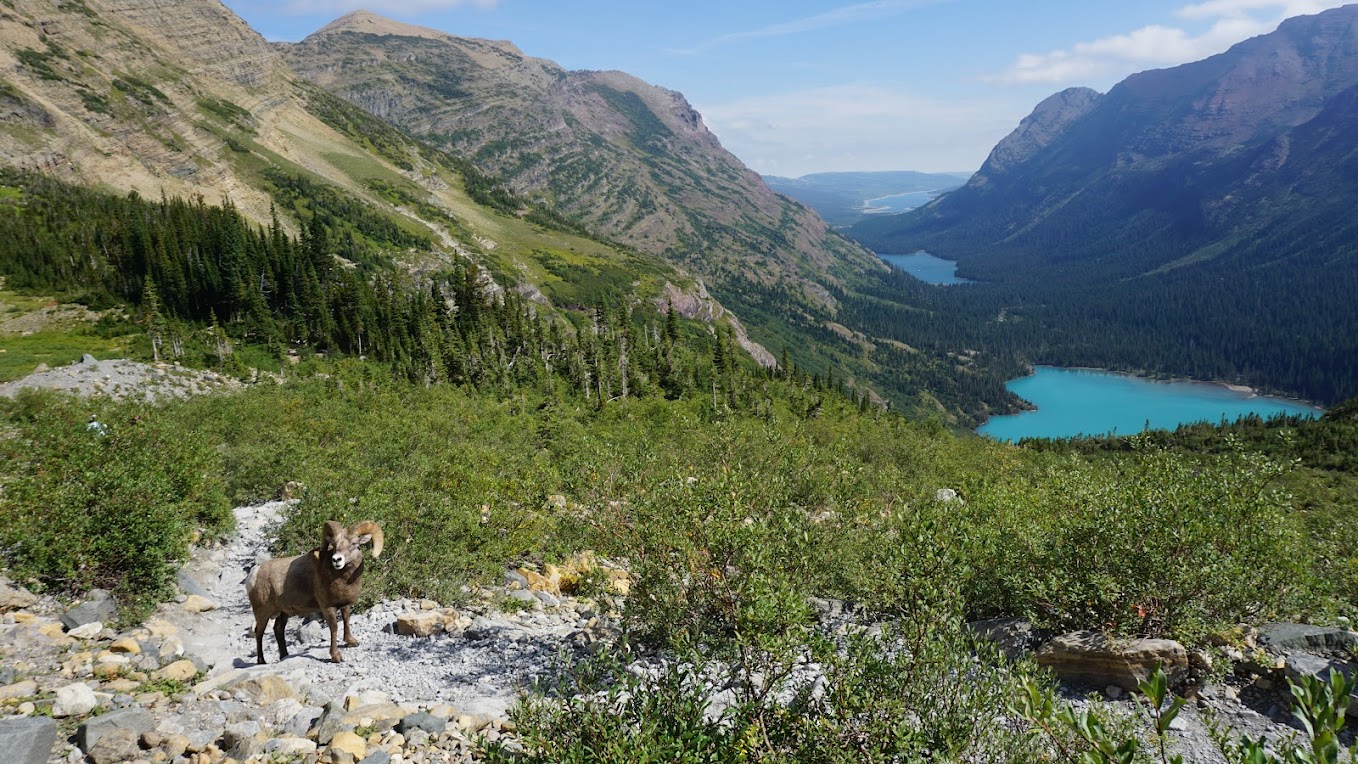
If you have ever seen those jaw-dropping, viral photos of Glacier National Park with water so vibrantly blue it looks fake, this is where they were taken! (I’ve put some in the slideshow below!)
🥾 The Main Event: Grinnell Glacier Trail (10.5 Miles)
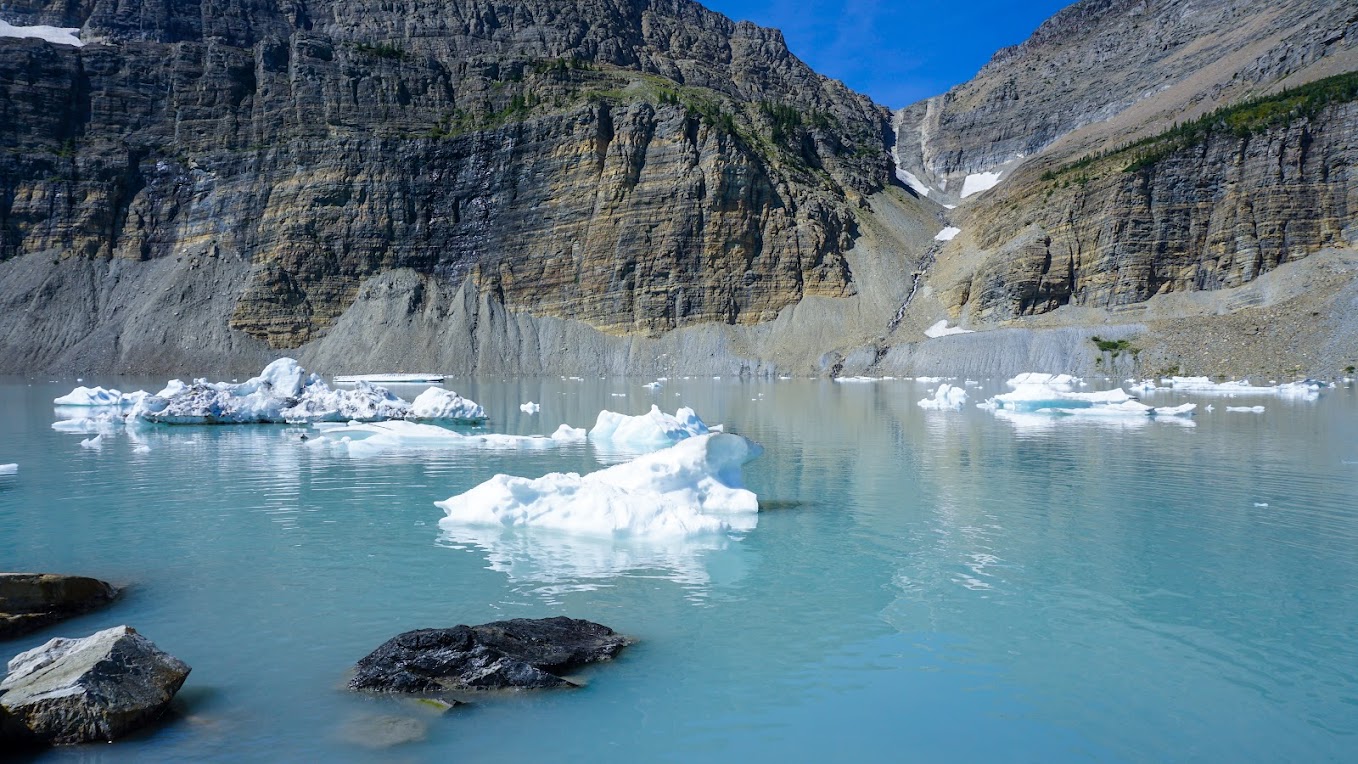
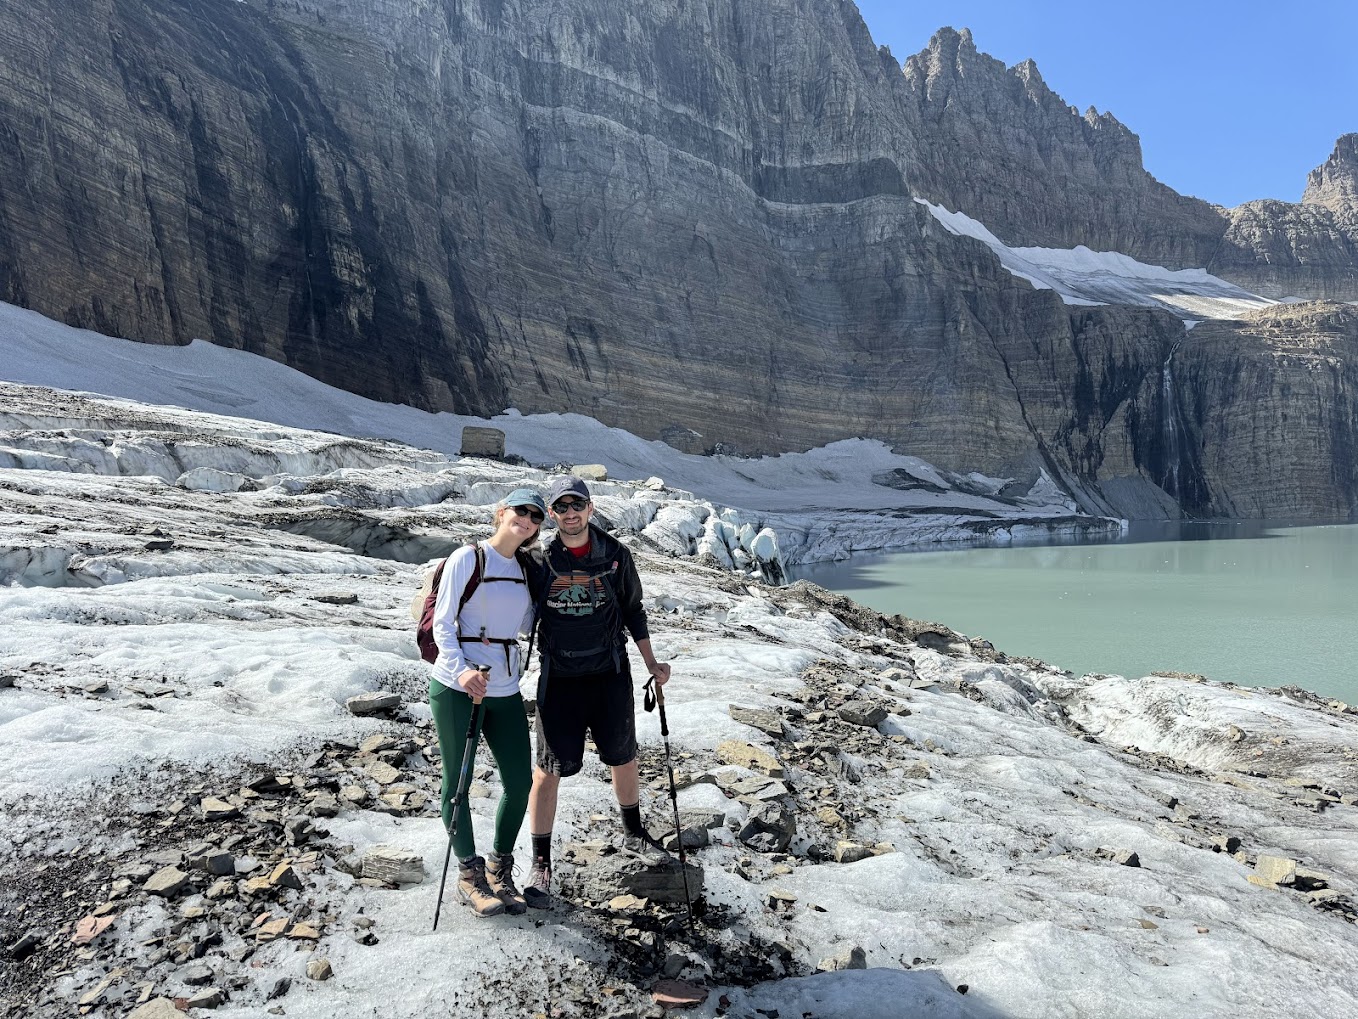
This is a heavy hitting trail, and I would recommend only doing it if you are comfortable with the distance! However, this is by far my favorite trail we did in Glacier. It was unbelievably beautiful and I would do it again and again. If you don’t believe me, check out the gallery below!
- April’s Honest Review: This hike is a long, strenuous, upper-tier challenge, but ask anyone who has done it, and they will tell you it’s one of the greatest trails of their life. The mind-blowing alpine views are continuous for almost the entire hike.
- The Shuttle Hack: If 10.5 miles sounds daunting, you can buy a ticket for the Many Glacier boat tour. Taking the boat across Swiftcurrent Lake and Lake Josephine shaves about 3.5 miles off your hike in each direction!
- Elevation & Wildlife Warning: The elevation gain here is no joke; pack at least 2 liters of water per person. Also, be highly alert! Many Glacier is densely populated with wildlife. On this trail alone, we saw a mountain goat, a bighorn sheep, and a moose. Keep your distance and keep your bear spray unclipped.
- If you hiked in a hot a day, you can swim in the glacier. A bunch of my very brave friends did it! Though be prepared there are literally icebergs floating in it!
Day 5: What We Planned: Iceberg Lake &
What We Did: Huckleberry Everything
Our plan was to return to Many Glacier for another heavy-hitting classic: Iceberg Lake Trail (9.6 miles round-trip). The trail climbs steadily through open meadows and pine forests before dead-ending at a massive amphitheater of rock. Tucked inside the giant stone walls is a lake that literally has giant chunks of ice floating in it all summer long.
Want an extra challenge? If you have the legs for it, you can add an excursion up to the Ptarmigan Tunnel, a giant tunnel blasted straight through the mountain wall that opens up to the northern face of the park. The tunnel doors are open from mid-July through late September.
Now – we did not end up doing Iceberg Lake for 2 reasons: 1, we were exhausted and 2, you can actually see Iceberg Lake from the Highline Trail which we had planned the next day. Many people say Iceberg Lake and Grinnell Glacier are similar, but some people feel that Grinnell is superior. We took the day to rest and explore Whitefish as well as get some good eats. I’ll link some places we ate at below!
Huckleberry Patch
This is most definitely a tourist location, but if you didn’t know, there is a ton of huckleberry in Montana. This place had shakes, food, gifts, etc. I did have a huckleberry shake and yes it was delicious!
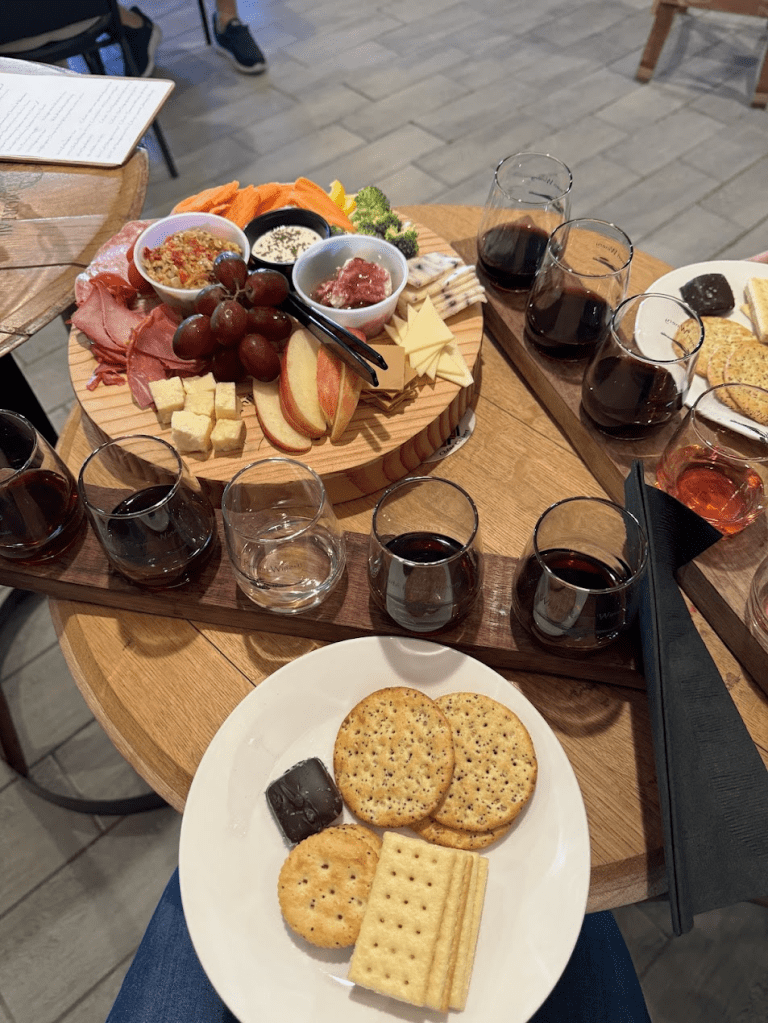
White Raven Winery & Vineyard
Not too far outside of Whitefish was a great winery! Their wines were delicious, they had amazing cheese platters, and their servers knew their stuff! We had a great time here and spent a few hours enjoying the outdoors sipping and snacking.
Day 6: The Grand Finale on the Highline Trail
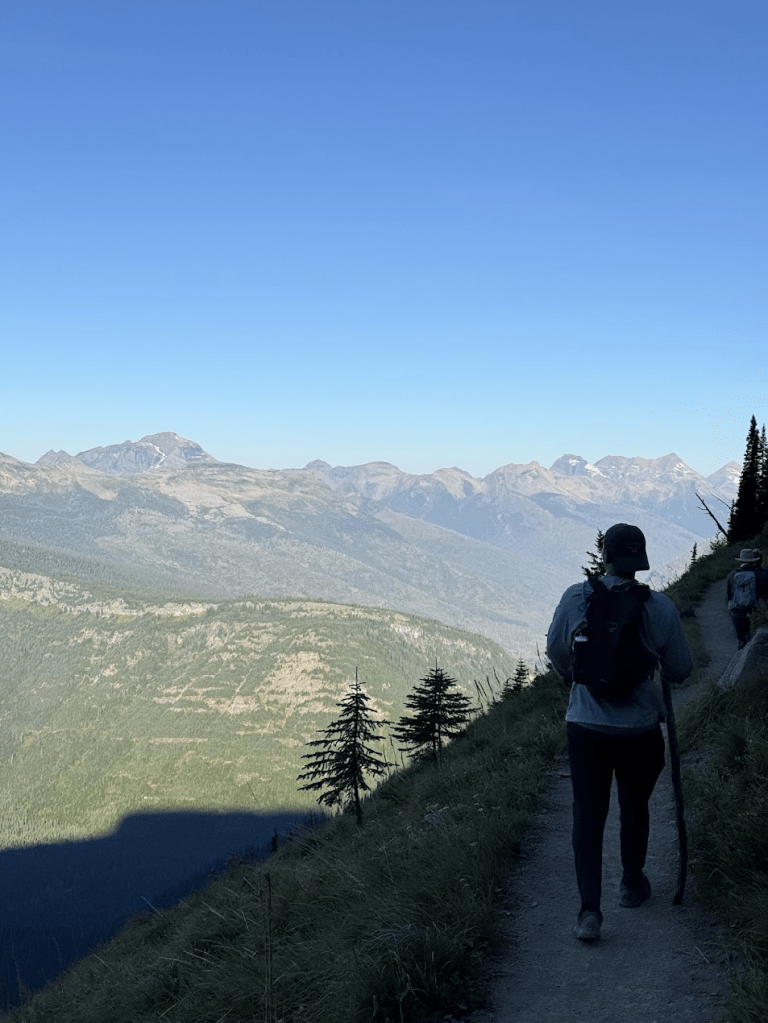
We saved the absolute best for last. The Highline Trail is a legendary, one-way, 12-mile trek that hugs the “Garden Wall” high above Going-to-the-Sun Road. Now, I’ll be honest, I was actually so exhausted still that I did not go on this hike. Some of my amazing friends still did though, so I’m sharing their words of wisdom here for you as I do wish I went!
How to Survive the Highline:
- Start Before 6:00 AM: You have to park your car at the Logan Pass Visitor Center, and the lot fills up instantly. We arrived in the pitch black, grabbed our gear, and crossed the street to the trailhead just as the sky was turning gray.
- The Garden Wall Add-On: Just under 6 miles into the hike, you will hit the optional Garden Wall trail. It is a brutal, straight-uphill, 1-mile vertical scramble that will absolutely kill your legs, but it is the best part of the entire day. When you crest the top, you are looking directly down onto the massive Grinnell Glacier below. It is spectacular.
- Take a Break at the Chalet: After descending from the wall, you’ll reach the historic Granite Park Chalet. It’s a hike-in, hike-out lodge where you can use a real restroom and buy a quick snack before starting the final leg of the journey.
- The Descent to “The Loop”: The final few miles downward to a sharp switchback on the highway called The Loop are unshaded due to past forest fires. It gets hot quickly, so slather on the sunscreen and drink plenty of water.
🚌 Highline Shuttle Logistics: Because the Highline is a one-way trail, you finish at The Loop, but your cars are still parked miles away up at Logan Pass.
- For Summer 2026: Glacier has updated their shuttle system. Shuttles running between The Loop and Logan Pass now require a ticket reserved in advance on Recreation.gov ($1 fee). Make sure you book your shuttle wristbands ahead of time, or ensure you have a designated driver in your group who skips the hike and drives a vehicle down to park at The Loop to meet you!
🗺️ Ready to map out your own trek? Check out the exact routes, lookouts, and trailheads we used on my custom Glacier National Park Google Map.
📸 All photos used in this post are taken by me and should not be reused.
 Mapped by April
Leave a comment